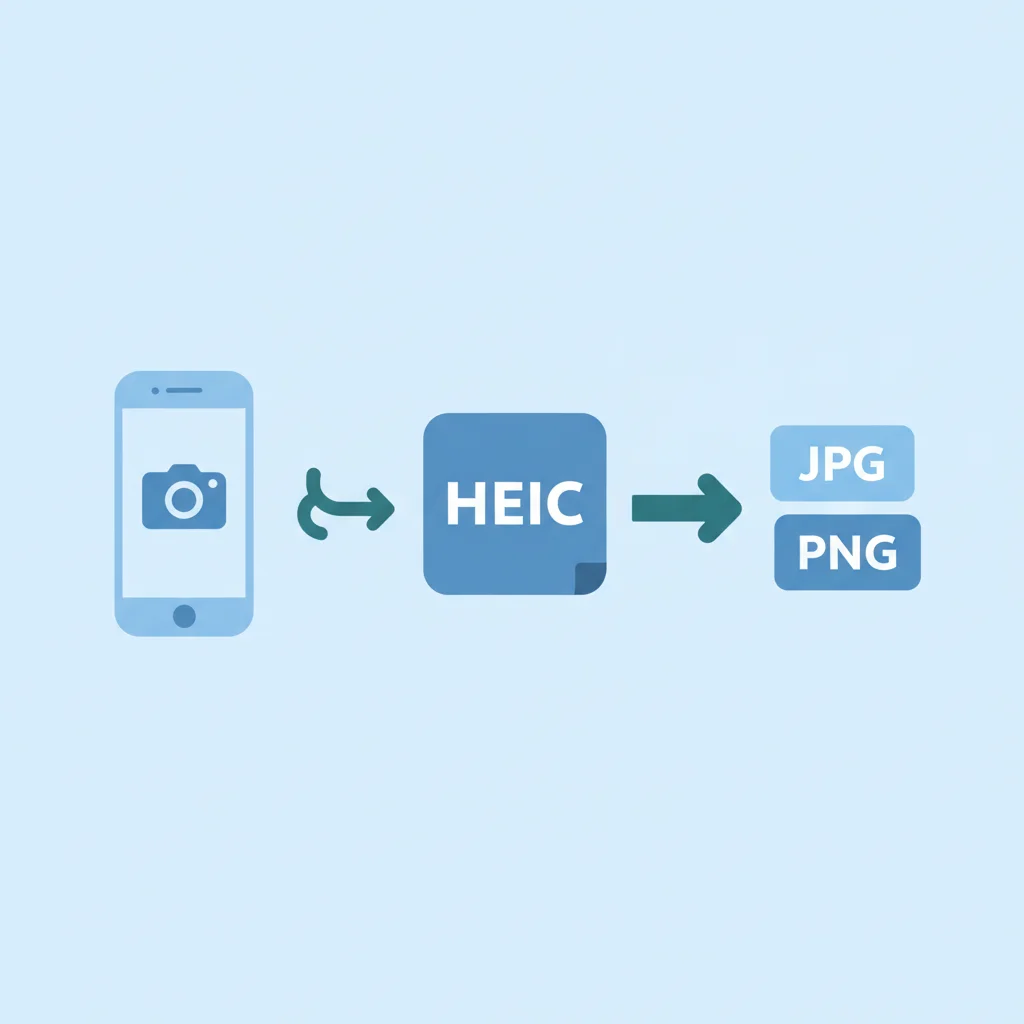
Understanding HEIC and Why Conversion Matters in 2026
Since its introduction, the High Efficiency Image File Format, or HEIC, has been the default for iPhone photos. It offers significant advantages like smaller file sizes and better image quality compared to the older JPG format. However, despite its technical superiority, HEIC still faces compatibility challenges outside the Apple ecosystem. Many older devices, certain software applications, and various web platforms do not natively support HEIC files. This means that even in 2026, converting your precious iPhone photos to universally recognized formats like JPG or PNG remains a crucial step for seamless sharing, editing, and archiving. This guide will show you the simplest and most effective methods to perform this conversion.
Automatic Conversion: Adjusting Your iPhone Camera Settings
- Open your iPhone Settings app.
- Scroll down and tap Camera.
- Select Formats.
- Choose Most Compatible. This will make your iPhone save photos as JPG files instead of HEIC.
On-Device Conversion Using Your iPhone Built-in Tools
- Using the Photos App Export: Select the HEIC photos you want to convert in the Photos app. Tap the Share icon, then choose 'Save to Files'. When saving, iOS often converts the image to a more compatible format, like JPG. You can then access the JPG version from the Files app.
- Copy and Paste Trick: Open the Photos app, select a HEIC image, and tap the Share icon. Choose 'Copy Photo'. Then, open an app like Notes or Files, create a new note or folder, and paste the image. The pasted image will often be converted to JPG automatically.
- Leveraging the Shortcuts App: For more advanced users, Apples Shortcuts app can be configured to create a custom automation for batch converting HEIC photos to JPG or PNG. You can find pre-made shortcuts online or build your own to suit your specific needs.
Easy Online HEIC to JPG PNG Converters
- Open your web browser and navigate to a trusted online HEIC converter website (e.g., HEIC.online, iMobie HEIC Converter).
- Click the upload button or drag and drop your HEIC files from your computer or iPhone (via iCloud or direct connection).
- Select JPG or PNG as the desired output format.
- Initiate the conversion process and then download your newly converted images to your device.
Desktop Software for Advanced and Batch Conversion
- For Windows Users: Applications like CopyTrans HEIC for Windows allow you to view HEIC files and convert them to JPG with a simple right-click. Other full-featured photo editors or converters also support HEIC input.
- For Mac Users: macOS has native HEIC support, allowing you to open and view these files without issue. To convert, simply open the HEIC file in Preview, then go to File > Export and choose JPG or PNG as the format. For batch conversions, the Automator app can be used to create a custom workflow.
Conclusion: Choosing the Best Conversion Method
Converting HEIC photos from your iPhone to JPG or PNG remains a relevant task in 2026 for ensuring universal compatibility and ease of sharing. Whether you opt for an automatic camera setting, leverage your iPhones built-in tools, use a convenient online converter, or rely on robust desktop software, there is a method suited for every need. By understanding these options, you can effectively manage your photo library and share your memories without any format restrictions.